Google Wifi Mesh Review & Hardwired Setup with Starlink
Perfect for a 3000 sq ft house — 3 access points give excellent coverage everywhere.
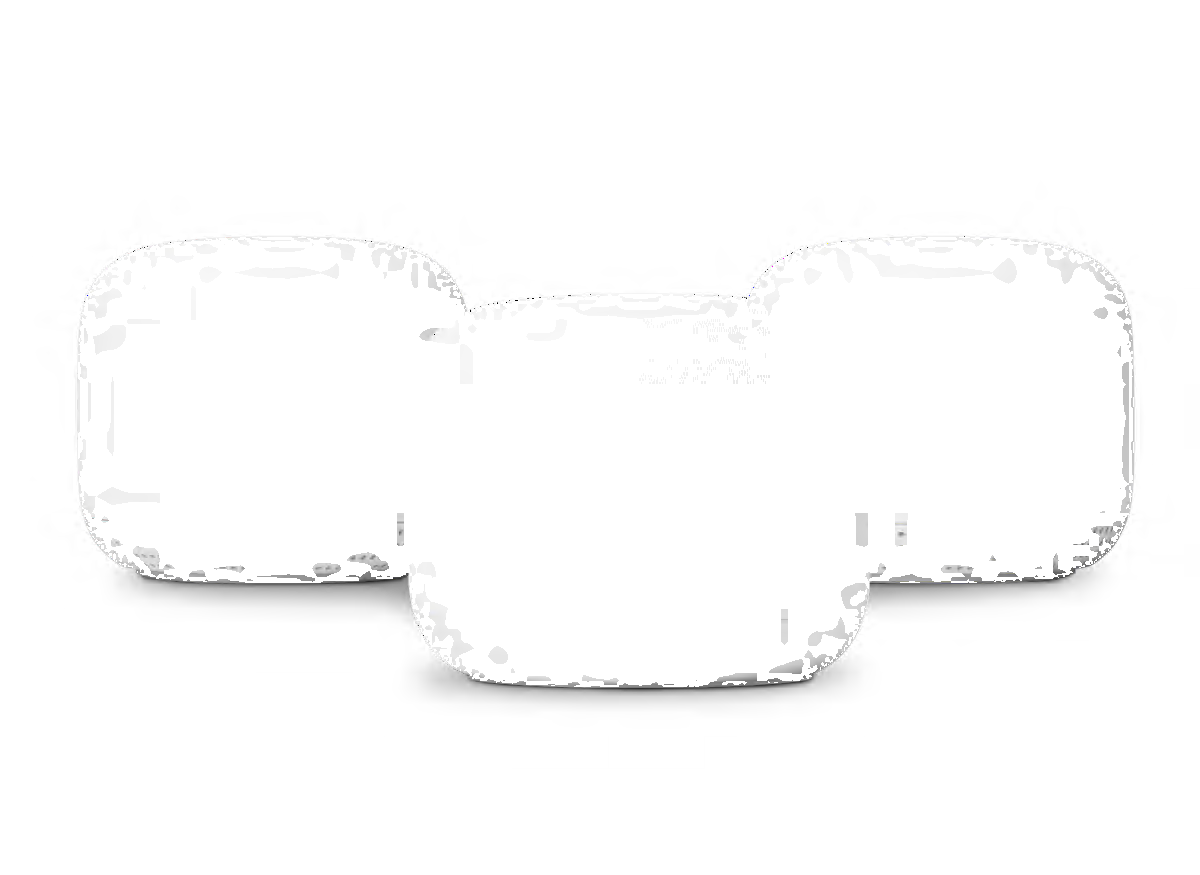
I’ve been running the Google Wifi Mesh system (3-pack) in my 3000 sq ft home and it has completely eliminated dead zones. The mesh is rock-solid, super easy to manage through the Google Home app, and looks clean. For even better placement I use this cool wall mount so the units sit high on the walls and broadcast beautifully.
Starlink has dramatically improved uptime (almost no outages now), speeds regularly hit 150–300+ Mbps, and the pricing is more affordable than ever. Grab Starlink here with my referral and you’ll get great service: Starlink Residential →
Hardwired (Wired Backhaul) Setup – Google Wifi + Starlink
Wired backhaul is the best way to get maximum speed and stability. Here’s the simple, reliable setup I use:
Important First Step – Starlink Bypass Mode
- Open the Starlink app → Settings → Advanced → Enable Bypass Mode (also called “Ethernet only” or “Bridge mode”).
This turns off Starlink’s built-in Wi-Fi and routing so your Google Wifi becomes the main router. - Connect an Ethernet cable from the Starlink router’s Ethernet port directly to the WAN port on your primary Google Wifi point.
Full Technical Steps
- Get three Google Wifi access points (one primary + two satellites).
- Designate one as Primary and plug it into Starlink (after enabling Bypass Mode).
- Use the Google Home app to set up the network on the primary point.
- Place the two satellite points where you need coverage (one per floor or far end of the house for 3000 sq ft excellent coverage).
- Connect each satellite’s WAN port to an inexpensive switch like this NETGEAR 8-Port Gigabit Switch connected to the primary. The Google system will automatically use the wired backhaul.
- Optional: Plug computers, TVs, game consoles, etc., into the remaining LAN ports or the switch for wired LAN speeds.
Simple Connection Diagram
Simplified diagram: Starlink in Bypass Mode → Primary Google Wifi → Switch → Mesh 1 & Mesh 2 & LAN
That’s it! Once wired, the Google Home app will show “Ethernet” next to each satellite and you’ll get full Gigabit speeds across the entire mesh.
Highly recommended combo for anyone on Starlink who wants fast, reliable whole-home Wi-Fi.